Have a Question?
Create a Group
Introduction to Groups
Groups contain multiple users on whom Self-Help solutions can be run from admin dashboard. For example – Your organization has Self-Help offline and Self-Heal applications installed on end user machines. Few users have logged an incident to create PST file in Outlook.
Scenario 1 – Without Anakage Platform – Agents would call those users and help them to create PST files on phone, remote desktop connections or physical visits. Imagine time taken to service 10 users.
Scenario 2 – With Anakage Self-Help Platform – Agents would call users and ask them to use the solution from desktop application or portal. This would be efficient that Scenario 1.
Scenario 3 – With Anakage Self-Heal and Self-Help Platform – Agents would collect user name and host names of users who have created incident. He would create a group with these user names and Runs the solution from dashboard. Users whenever they are online would get notification on their desktop that they “With reference to their incident no XXXXX, please click here to fix their issue”.
Note – Solutions can be run from dashboard for individual users also. No need of always creating a group to run solutions.
Create a Group
1 – Login to Self-Help dashboard using super admin credentials
2 – Click on Dashboard
3 – Click on “Facility & Users” and click on “Groups”.
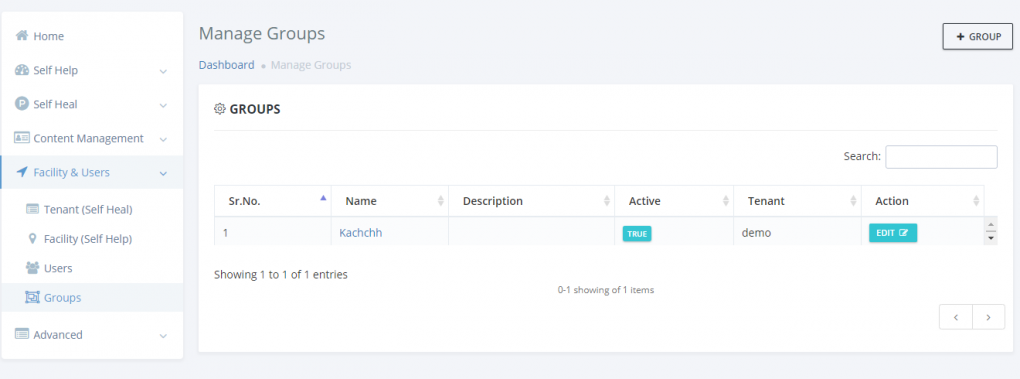
4 – Click on “+GROUP” button in top right corner to bring “CREATE GROUP” form
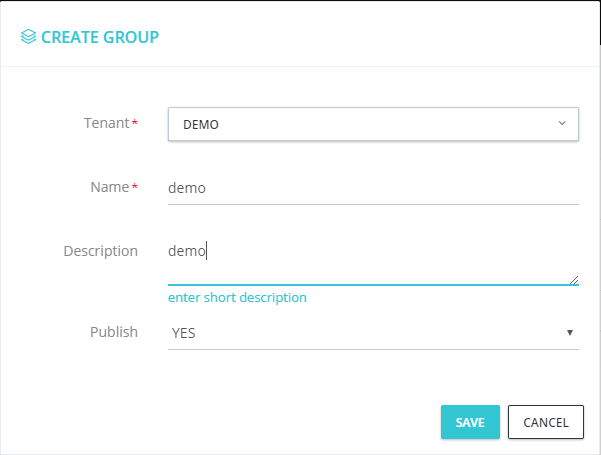
Tenant – Select Tenant from drop-down. In most of the cases you will have only one entry to select.
Name – Name of the group. It should be unique
Description – Description For the group
Publish – Select YES/NO
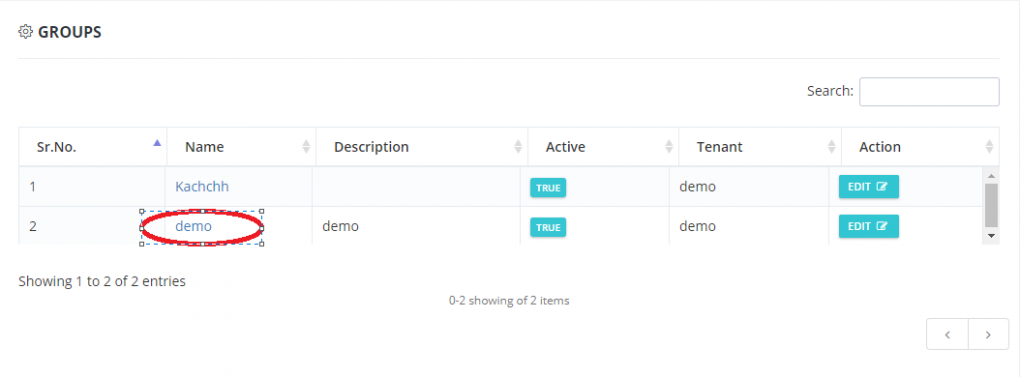
5 – Click on SAVE button to create the group. Once created it would appear in the table

Add Users to Group
After Group in created you need to add users to this group.
1 – Click on Group name hyperlink
2 – Group Member page will open

3 – Group Member can be Imported using Excel file.
Note – Group Member Excel file should contain two columns username and hostname which should not be empty and the combination should be unique in a group.
Warning – Importing members will delete existing data for that specific group and new data will be imported from excel sheet.

4 – Click On “SELECT FILE”
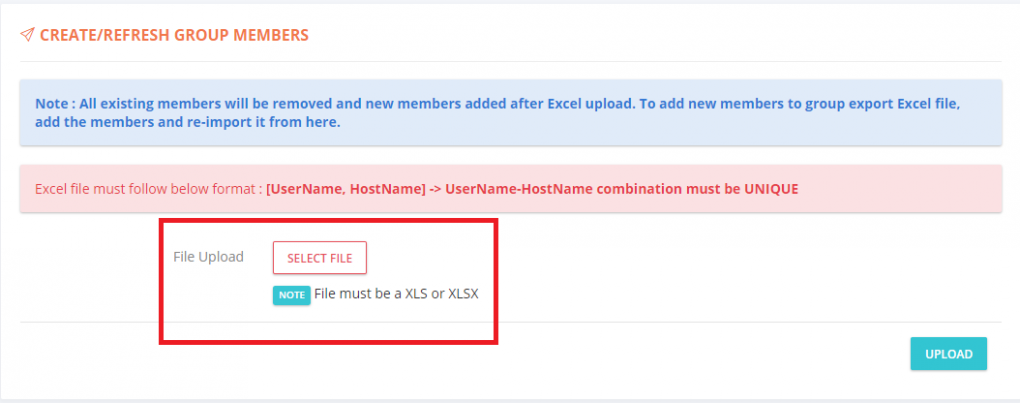
5 – Select Excel file
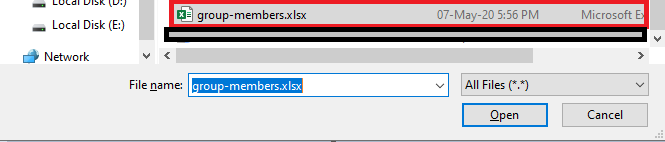
6 – Click on “UPLOAD” Button

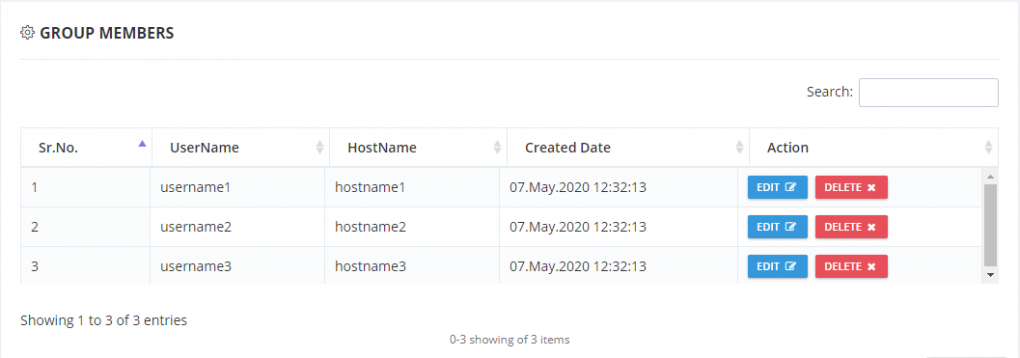
7 – Old members (if any) will be deleted from group and new members will be imported and displayed in the “Group Members” table
Edit a group member
1 – Select “EDIT” button for member.
2 – Provide updated data and Save.
Delete a group member
1 – Select “DELETE” button for member that is to be deleted
2 – Accept the “Delete Confirmation”
3 – Member will be removed from group